
Separate Conversion From Compression
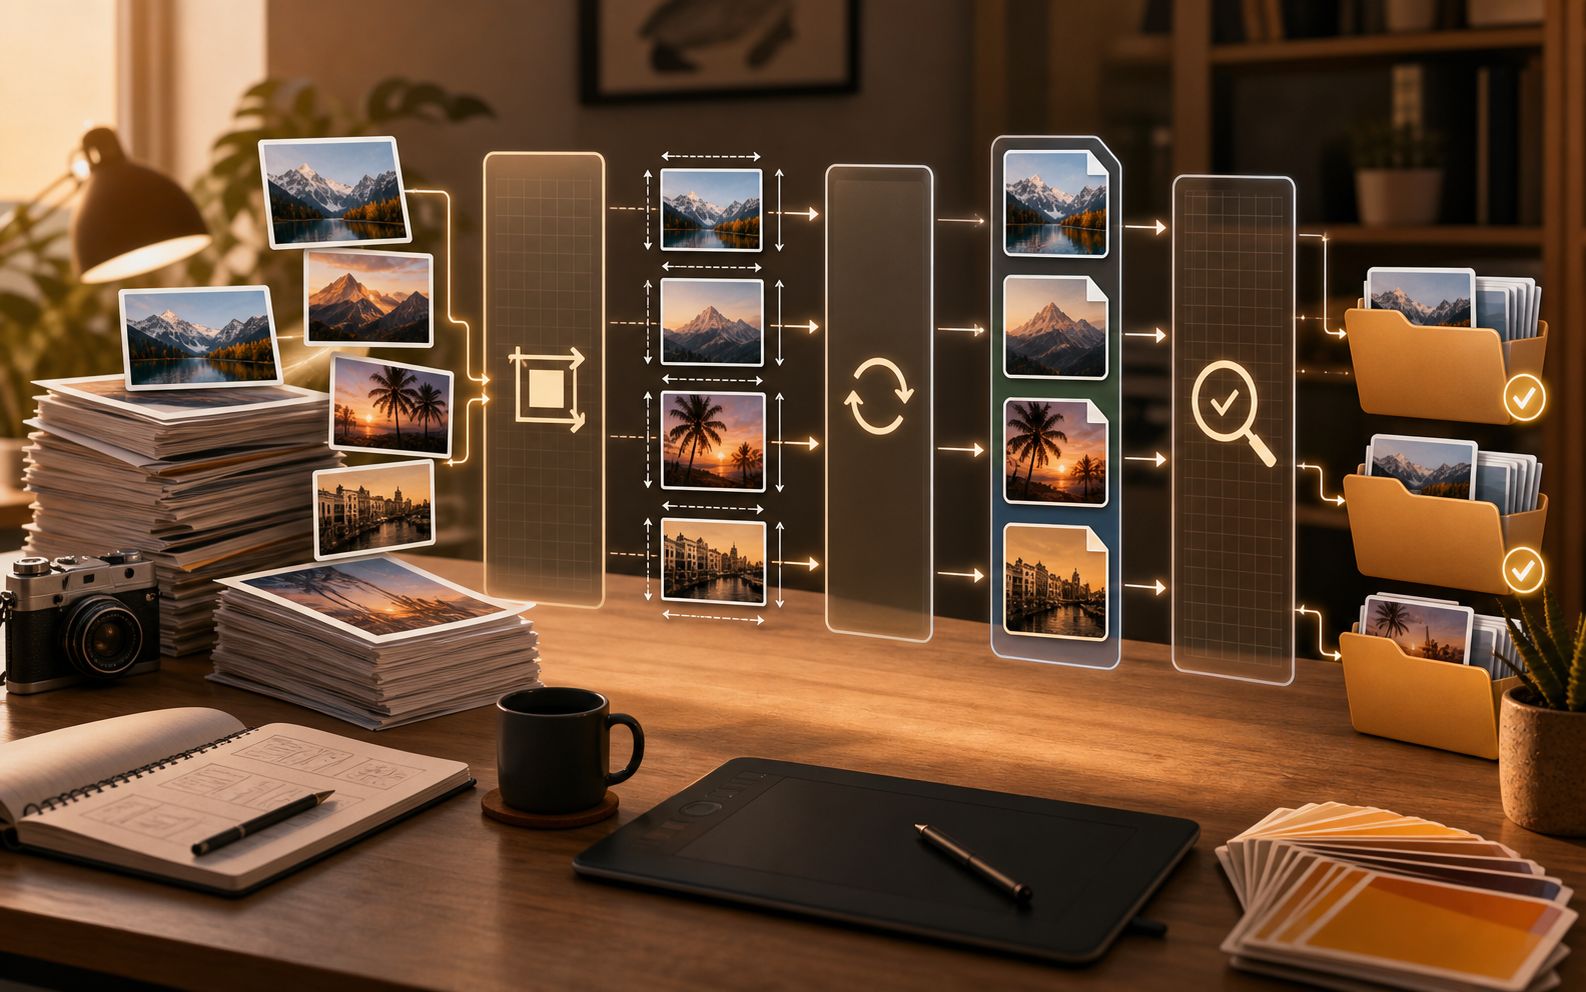
Image conversion and image compression are related, but they are not the same job. Converting changes the container or codec, such as HEIC to JPG or PNG to WebP. Compressing changes the file size, usually by adjusting dimensions, quality, or both.
For a large folder, decide the target first. If a website asks for JPG under 500 KB, convert to JPG, resize if the image is oversized, then compress. Doing all three intentionally gives better results than repeatedly dragging files into random tools until one version passes.
Resize Before You Lower Quality
A 4032 pixel phone photo does not need to stay that large for a profile upload, support ticket, or web listing. Reducing dimensions often saves more space than aggressive quality loss, and the result looks cleaner.
Keep a master folder with the original images. Export a separate delivery folder with the dimensions, format, and naming pattern you need. That makes it easier to rerun the batch if a client changes the required size.
Use Format Rules That Match the Content
Use JPG for normal photos, PNG for screenshots and transparency, WebP for modern websites, and AVIF when your target platform supports it and maximum compression matters. Do not convert logos or transparent graphics to JPG unless the white background is acceptable.
For mixed folders, sort by purpose first. Screenshots, product photos, scans, and icons often need different settings even if they arrived in the same download.
Review a Sample Before Running the Whole Folder
Run five representative images first: one photo, one screenshot, one dark image, one image with small text, and one transparent graphic. If those are clean, run the full batch.
Afterward, compare count, file size, dimensions, and a few visual samples. The goal is not only smaller files; the goal is files that open correctly where they are going.
Batch Jobs Need Rules Before They Need Speed
The fastest batch workflow is still expensive if it creates the wrong output across an entire folder. Before processing hundreds of files, decide what counts as correct: target format, maximum width or height, whether transparency must survive, the naming pattern, and whether files are headed for the web, email, archive, or print.
That checklist is what prevents batch work from becoming blind work. It is also the reason testing a representative sample matters so much. A scenic photo, a UI screenshot, a transparent icon, and a dark night image behave differently under the same compression settings.
When to Split a Batch Into Smaller Runs
If one folder mixes screenshots, scanned forms, portrait photos, product shots, and transparent graphics, split it. A single settings profile is usually too blunt for that level of variation. Keep one run for photos, one for screenshots, one for assets with transparency, and one for scan cleanup if needed.
Breaking a batch apart often produces better total results than forcing every file through the same export recipe. The extra minute spent grouping files is usually recovered when you avoid rerunning the whole job.