How to Reduce Photo Size for a Visa Application
Reduce photo size for a visa application: check the embassy portal's rules, then crop, resize and compress your photo offline in a few clear steps.
Quick answer
To reduce a photo for a visa application, first read the exact requirements on the official portal, then crop and resize to the stated dimensions, convert to the required format, and compress to the allowed file size. ConvertFast does these steps offline, so your photo and documents are not uploaded to a third-party site.
Visa portals are strict about uploads, and the error messages are often unhelpful. A photo that is perfectly good can fail because it is a few KB too large, the wrong format, or the wrong shape.
This guide gives a general workflow that works for most portals. Requirements differ by country and by visa type, so every number here is something you must confirm on the official page for your application.
- Read the portal's photo rules for your visa type
- Confirm the accepted file format, such as JPG
- Note the required pixel size or aspect ratio
- Note the minimum and maximum file size
- Check background and head-position requirements
- Keep the original photo untouched
- Verify the final file before submitting
Check what the visa portal requires
Start with the official instructions from the embassy, consulate or visa service you are applying through. Look for the photo section and write down every requirement. Do not rely on a figure from a forum or from a previous year, because rules are updated and can differ between applicants.
Typical items include accepted file formats, a size range in KB or MB, minimum pixel dimensions, a required aspect ratio, a plain background and rules about head size. Some portals state each one clearly; others only show an error after you try to upload.
Step by step: prepare your visa photo offline
This order avoids repeated trial and error. It starts from your original photo and works toward the final upload file.
- 1Copy your original photo to a working folder.
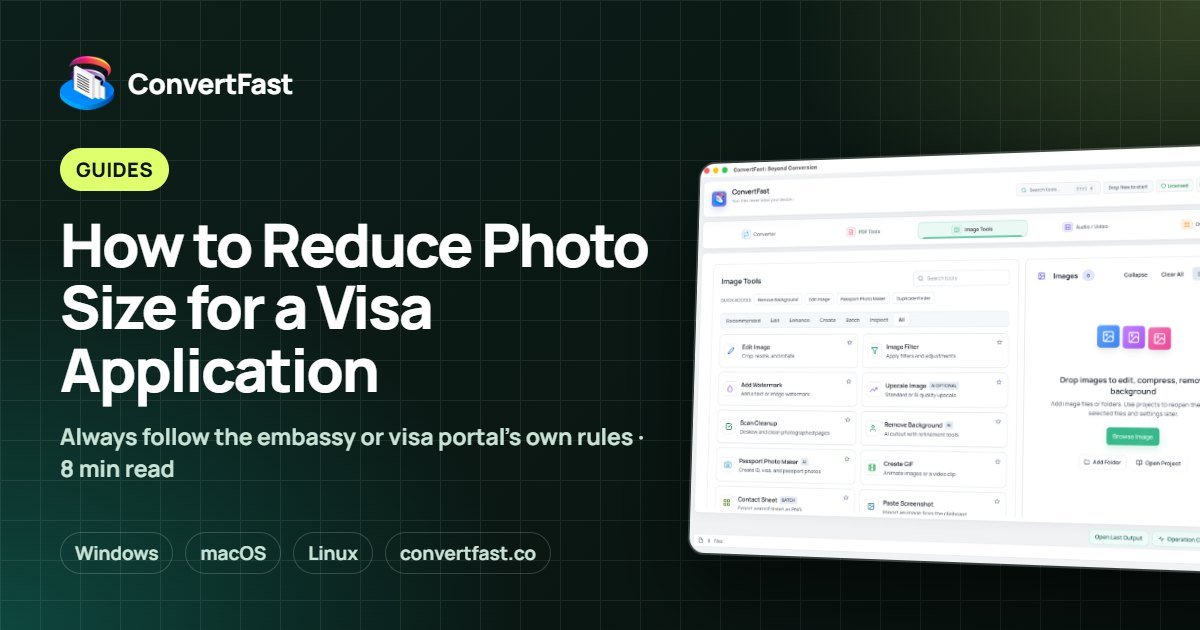
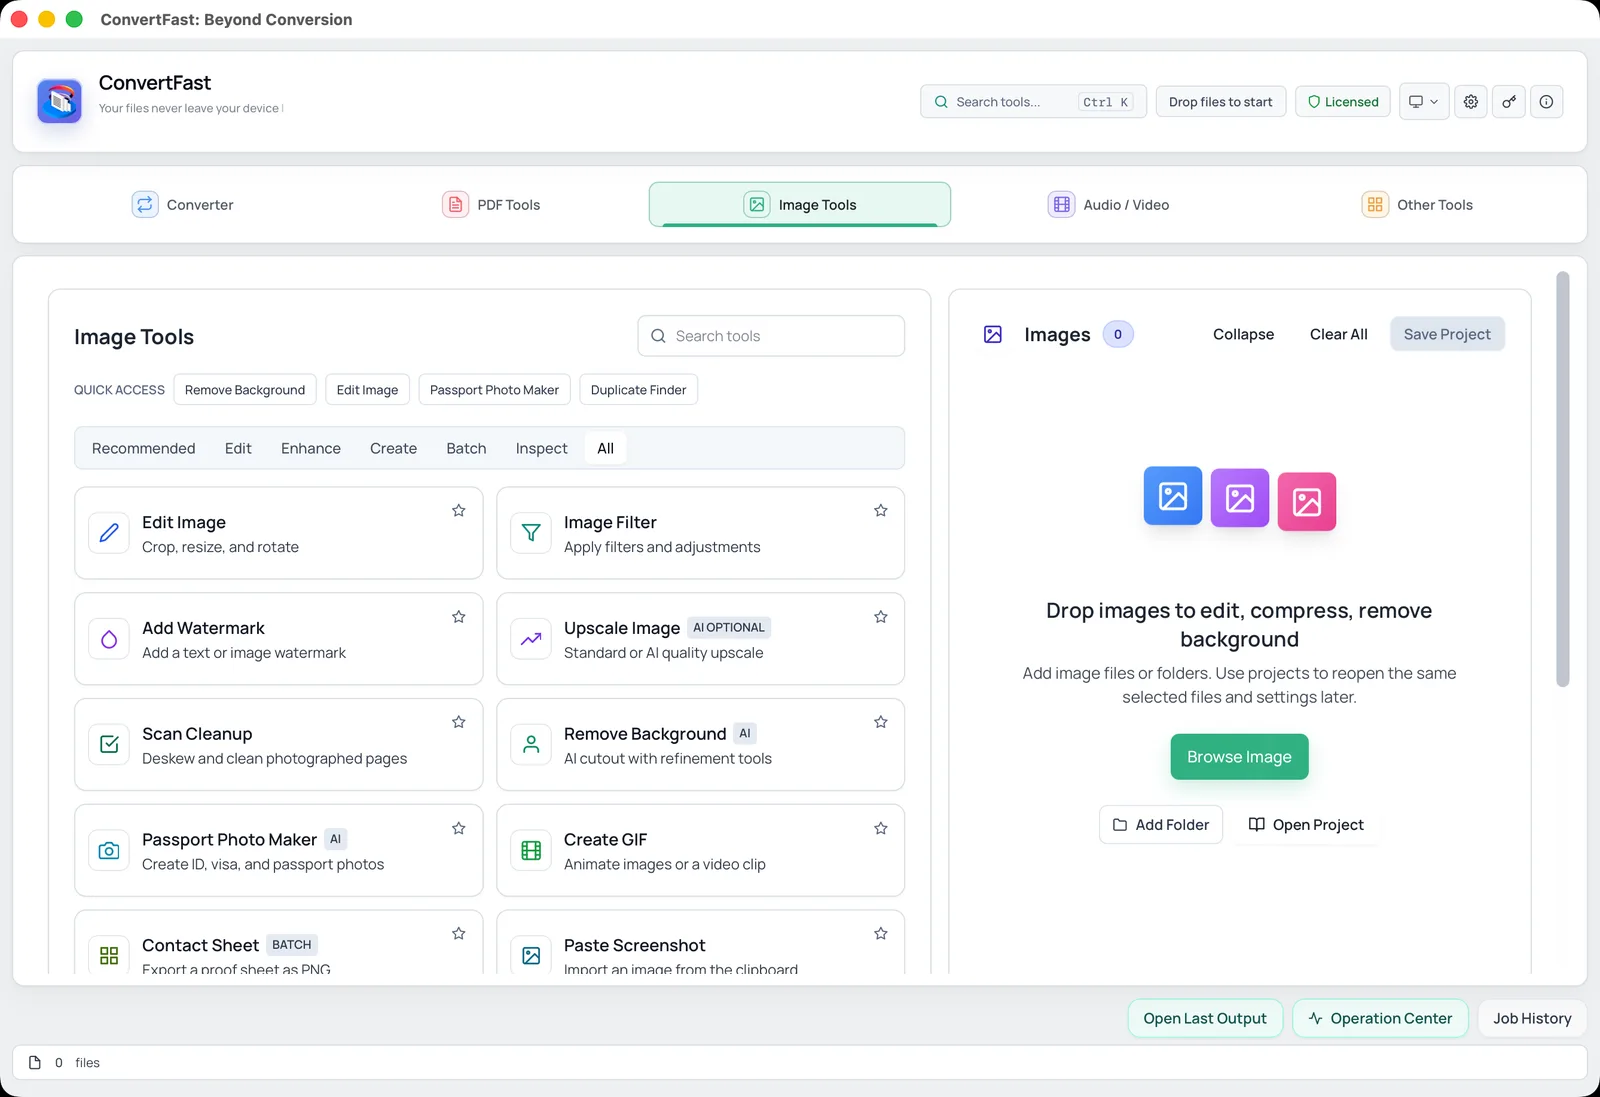
- 2Open ConvertFast and choose Image Tools. If you need a correctly framed photo with a plain background, try Passport Photo Maker, then check the result against the portal rules.
- 3Use Edit Image to crop to the required ratio and resize to the stated pixels.
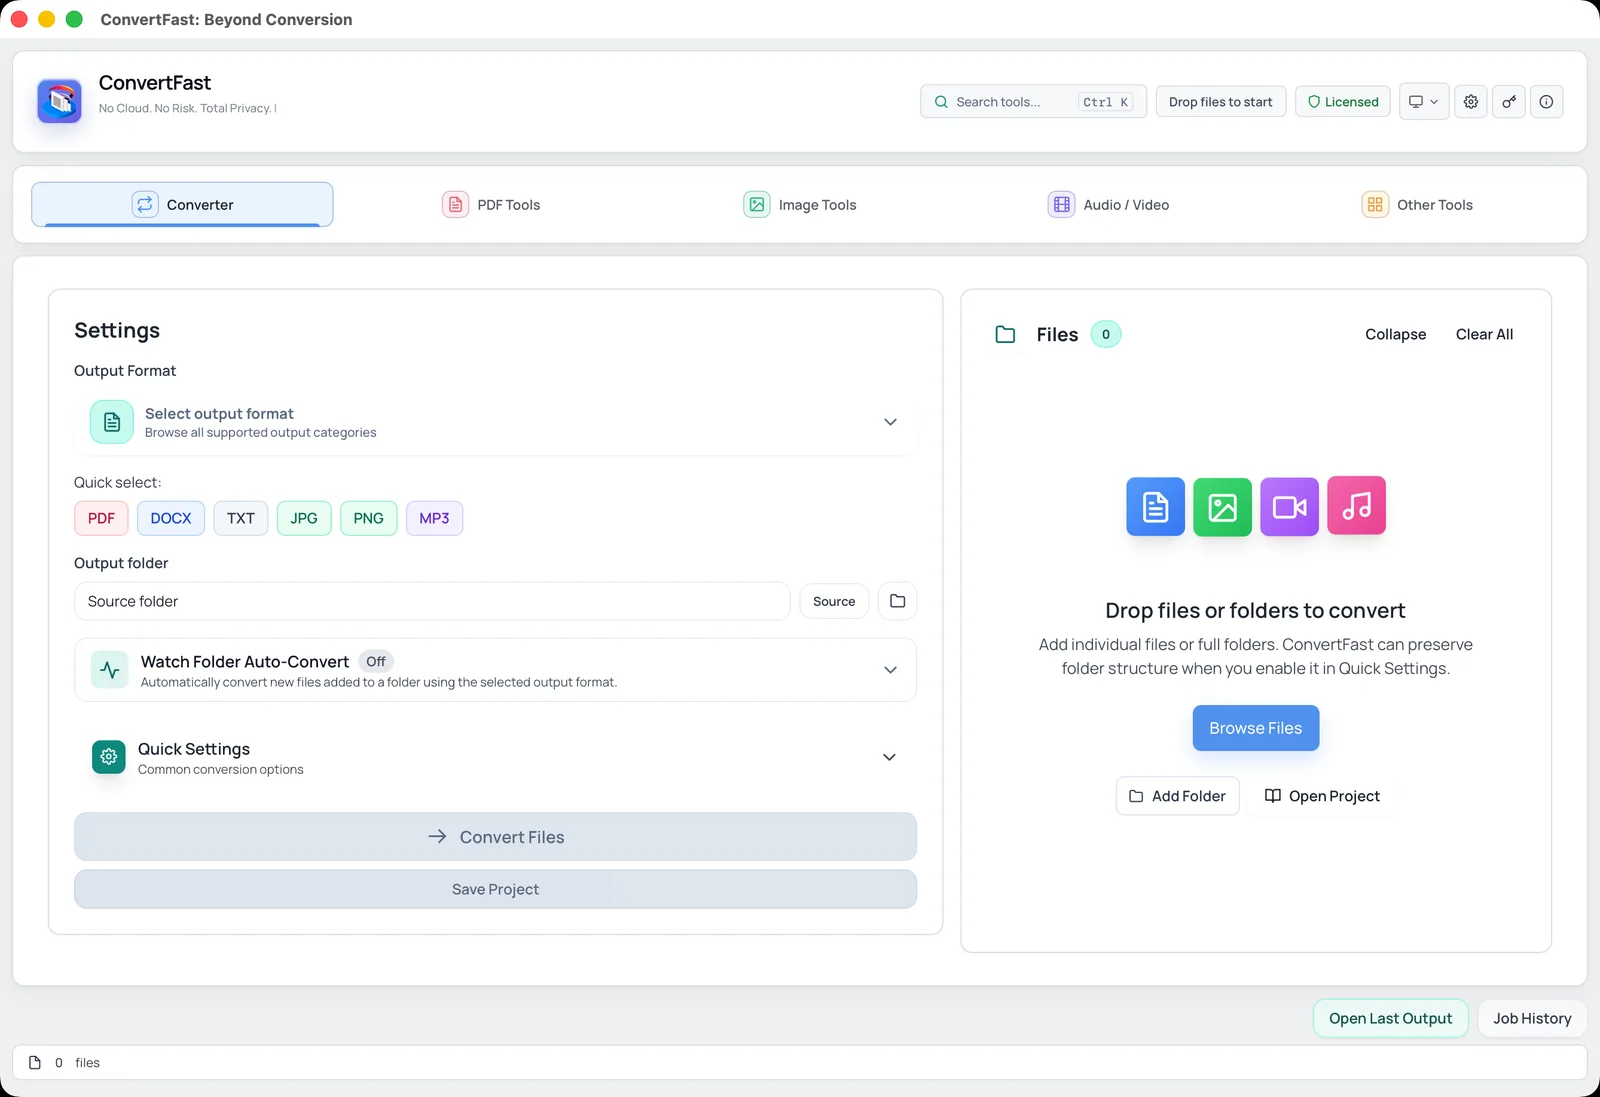
- 4If the file is HEIC or PNG and the portal needs JPG, convert it first with HEIC to JPG or PNG to JPG.
- 5Compress to the target size. Pick the matching workflow, for example compress image to 200KB for visa application or 1MB for visa application.
- 6Check the final size and view the image at 100 percent to confirm the face is clear.
Visa photo versus supporting document scans
Applications often need more than a face photo. Passport scans, bank statements and letters are typically uploaded as images or PDFs, and each has its own limits. For image scans, the same resize-and-compress steps apply. For multi-page documents, combining pages into a single PDF and compressing it often helps.
See combine images into one PDF when you have a stack of photographed pages, and prepare documents for online applications for a broader checklist.
| Item | Usual format | What to adjust |
|---|---|---|
| Face photo | JPG | Crop, pixel size, KB size |
| Passport page scan | JPG or PDF | Resolution and KB size, keep text readable |
| Supporting letters | Combine pages, compress PDF | |
| Signature | JPG or PNG | Crop tightly, small dimensions |
Avoid over-compressing
A visa photo has to show a clear face, and a passport scan has to stay readable. Over-compression creates blocky patches around eyes and fuzzy text, which can trigger a manual rejection even when the file passes the automatic size check.
Reduce pixel dimensions before you touch quality, compress only as far as the limit requires, and always work from the original file. The principle is explained in more depth in compress an image to 100KB without losing quality.
Protect your privacy while you prepare files
Visa applications contain some of the most sensitive documents you have: passport scans, financial records and photos. Uploading them to a random website just to shrink a file adds an unnecessary copy outside your control. Preparing them in a desktop app keeps the process on your own computer.
Phone photos may also contain GPS location. Use remove image metadata to strip it before sending the file anywhere. The private file conversion checklist lists more habits worth adopting.
If the upload still fails
Go back to the portal instructions and compare each rule to your file. Most failures come from a short list of causes.
- File is above the maximum size or below the minimum
- Pixel dimensions are wrong, even if the KB size is fine
- File is not truly JPG, for example a renamed HEIC
- Photo was cropped too tightly or too loosely
- Browser or portal glitch: try again later or with a different browser, and contact the visa service if the problem continues
Plan ahead so you do not rush
Visa applications often have deadlines, appointment slots and session timeouts. Preparing the files before you start the online form removes the most stressful part. Create one folder for the application and put the final photo, passport scan and supporting documents in it with clear names, such as the document type and your surname.
Do your resizing and compression in advance, and test each file against the portal rules you noted earlier. If a portal times out, you can then upload files in seconds instead of editing under pressure. Batch processing helps when several documents need the same treatment; see batch convert images without breaking quality. Remember to keep the original, uncompressed files, because a future application or an embassy request for a higher-quality copy may need them. A tidy folder also makes it easier to re-apply if the first submission is rejected.
Frequently asked questions
What size should a visa photo be in KB?
It depends entirely on the country and portal. Some require a small file of a few hundred KB or less, others accept a few MB. Read the photo requirements on the official visa page for your application and use the range shown there, not a figure from a third-party source.
How do I reduce a visa photo's file size without losing quality?
Crop and resize to the required pixel dimensions first, then compress to the allowed file size. Resizing removes data your portal does not need, so only light compression is left, and the face stays clear. Always start from the original photo, not a copy you already compressed.
Can I make a visa photo in ConvertFast?
ConvertFast includes a Passport Photo Maker in its Image Tools that uses AI to frame a photo with a plain background, plus Edit Image for cropping and resizing. You must still check the output against your embassy or portal's rules, because requirements vary by country.
Is it safe to resize visa documents with an online tool?
You generally cannot verify what an online service does with an uploaded file. Passports and bank statements are sensitive, so a local desktop app is the more cautious choice. ConvertFast processes files on your computer, so they are not sent to a website.
My visa photo is the right size but still rejected. Why?
File size is only one rule. Portals may also reject the wrong pixel dimensions, background color, head size, format or shadows. Review the full photo guidelines for your visa type and compare your photo against every point, then fix the specific issue.